自动备份B站Up主最新视频脚本详解(Win和Linux有些不同)
前言:
次篇文章启发于某些大胆的UP主(老马)的多次被封,并被下架一些视频。有些人并不能及时观看到,故写一个脚本自动下载最新视频。
🌀1.准备环境
Win和Linux都需要:
Python3 运行需要
Selenium 操作浏览器(pip下载)
BeautifulSoup4 解析出最新视频链接(pip下载)
you-get 下载视(pip下载)
bypy 上传百度网盘(pip下载)
Chrome/FireFox/Edge... 一款主流浏览器(和其对应driver)
Win额外:
Git(非必须)
参考文档及链接
Selenium With Python使用Selenium with Python — Selenium Python Bindings 2 documentation (selenium-python.readthedocs.io)
BeautifulSoup4使用Beautiful Soup Documentation — Beautiful Soup 4.4.0 documentation (beautiful-soup-4.readthedocs.io)
you-get使用github.com
bypy使用github.com
🅰️2.编写主脚本(Python)
from selenium import webdriver
#此处以FireFox为例,需要安装浏览器,和对应的geckodriver,(浏览器不同需要不同的driver)
from selenium.webdriver.firefox.options import Options
#切换浏览器操作,例:from selenium.webdriver.Edge.options(Edge浏览器)
from bs4 import BeautifulSoup
import time
import subprocess
from datetime import datetime
print('---------')
#记录Log文件
def DoLog(isSuccess):
dt = datetime.now()
strformat = dt.strftime("%Y-%M-%d-%H-%m")
if isSuccess==True:
logfile = open('./logs/'+strformat+'.txt','w')
logfile.write('')
logfile.close()
else:
logfile = open('./logs/'+strformat+'.txt','w')
logfile.write('')
logfile.close()
# Chrome
chrome_options = Options()
#chrome_options.add_argument('--headless')
#chrome_options.add_argument('--no-sandbox')
#chrome_options.add_argument('--disable-gpu')
#设置浏览器使用指定用户的数据,可以保持B站的登录状态
#具体的浏览器用户数据文件夹不同
#例:Edge的用户资料默认为C:\Users\XXXXX\AppData\Local\Microsoft\Edge\User Data
chrome_options.add_argument('user-data-dir=/home/wdnm/.mozilla/firefox/br20yo5m.default-release')
browser = webdriver.FireFox(firefox_profile='user-data-dir=/home/wdnm/.mozilla/firefox/br20yo5m.default-release')
#打开B站Up主的主页
browser.get('https://space.bilibili.com/316568752')
browser.refresh()
#
browser.implicitly_wait(30)
time.sleep(10) # import time
browser.refresh()
time.sleep(15)
#记录页面(非必要)
file = open('test.html','w')
file.write(browser.page_source)
file.close()
#解析页面
soup = BeautifulSoup(browser.page_source, "html.parser")
#找到标志位
latest_tag = soup.find('span', string='最多收藏')
print(latest_tag)
#寻找最新视频的链接
A_tags = latest_tag.find_all_next('a',limit=5)
print(A_tags)
realtag = A_tags[2]
video_href = realtag['href']
video_title = realtag['title']
#保持视频名,下次运行脚本时进行对比,一样的话(没更新)就不下载视频
lastfile = open('lastVideoName.txt','r')
context = lastfile.read()
lastfile.close()
if context==video_title:
print('')
DoLog(False)
else:
print('you-get')
#执行副脚本(SHELL)
subprocess.run(['bash','test.sh','https:'+video_href])
#
updatefile = open('lastVideoName.txt','w')
updatefile.write(video_title)
updatefile.close()
DoLog(True)
html = browser.page_source
print('start script')
browser.quit()🅱️3.编写副脚本(shell)
#!/bin/bash
echo 'HolyShit!------'
# 设置一个本地存放文件的路径
folder_name="Madugong_"$(date +"%Y-%m-%d_%H-%M-%S")
cd /root/Videos
mkdir $folder_name
cd $folder_name
# you-get下载视频
echo $1
you-get $1
echo 'HolyShit!------'
# -------------此处为去除下载文件名中的一些转义字符,需要自行处理
# -------------如果UP主发布的视频标题没有特殊字符则为非必要
for file in $(ls -p | grep -v /); do
new_name=$(echo $file | sed 's/[ ]//g;s/\[//g;s/\]//g')
mv ""$file"" ""$new_name""
done
# -------------
files=$(ls -p | grep -v /)
# bypy上传----下面二选一
# ------------------单文件循环传(可以自定义上传后的名字)
for file in $files
do
bypy upload $file $file
done
# ------------------该文件夹下全部上传
bypy upload⏲ 4.设置定时任务
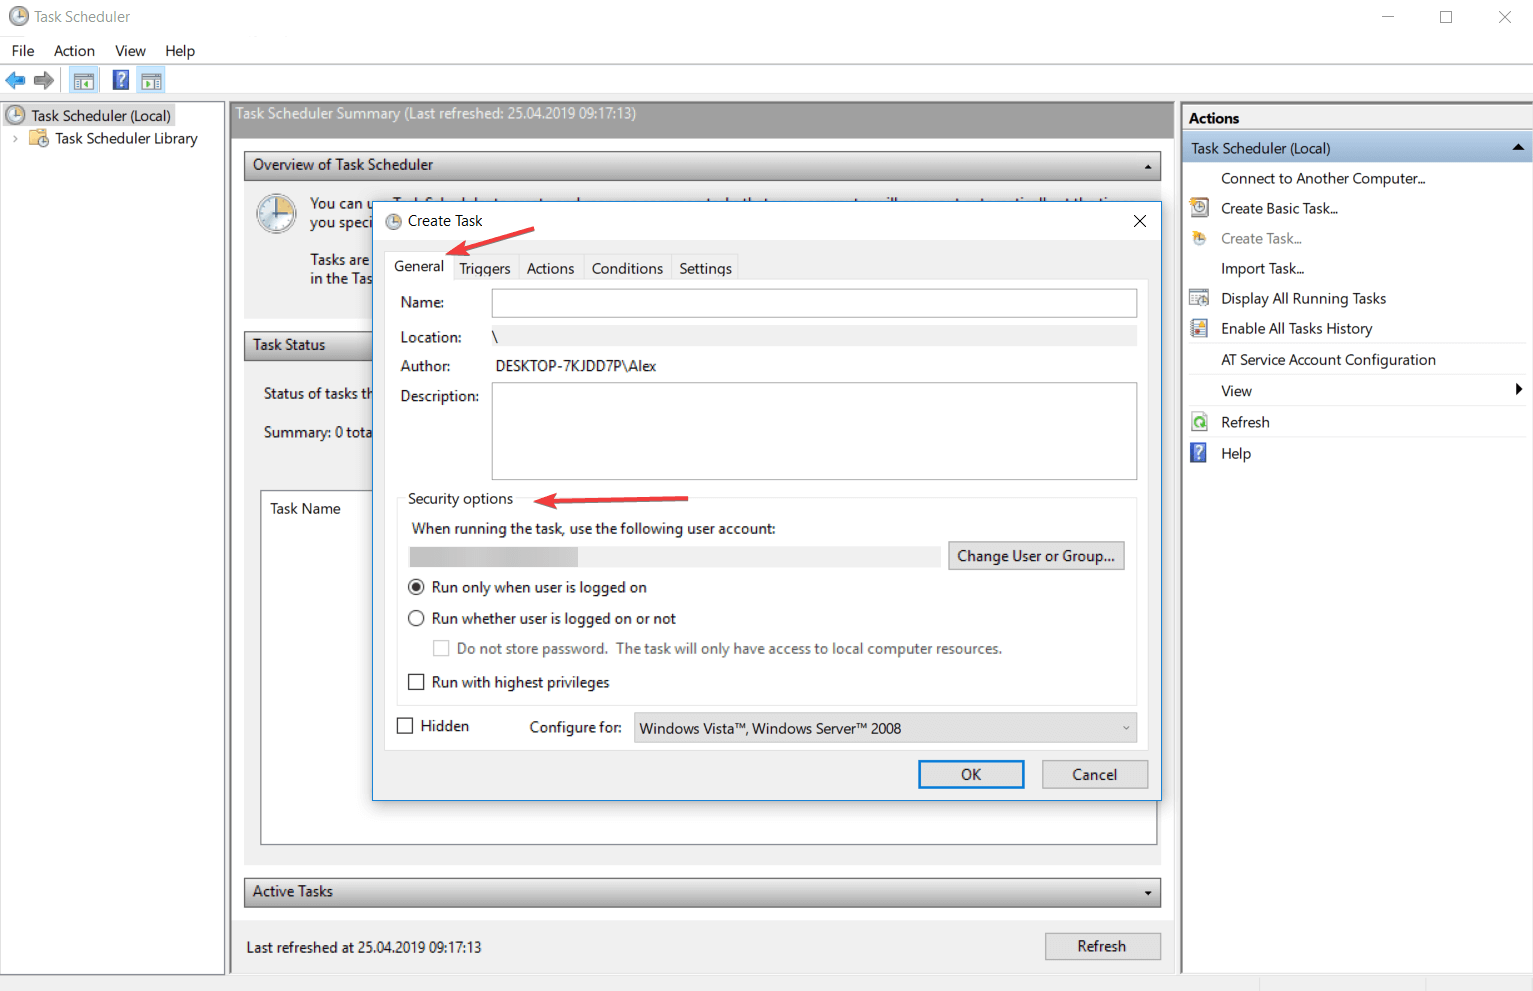
Windows: Taskschduler

Linux:Crontab
30 * * * * python3 /root/xxx/Test.py
# 如果没有crontab没有环境变量,你可以指定python绝对路径或设置环境变量
🈂️ 5.运行脚本进行测试
这里使用CentOS的GUI进行测试,并测试成功

注意项:
1.在Window下要运行副脚本的话,需要指定subprocess以gitbash运行sh脚本,否则请将sh脚本翻译为bat脚本
subprocess.run(['C:\Program Files\git-bash.exe','test.sh','https:'+video_href])(PS:转义脚本可以参照BashConverterUi (daniel-sc.github.io))
2.请尽量选择国内服务器进行百度网盘的上传,境外服务器上传太慢,会造成上传超时
3.Window下可以使用自带的TaskScheduler进行定时任务设置,Linux下则可以使用Crontab进行定时任务设置。
PS:
crontab的cron表达式只有5个单位和其他工具的设置不一样,参考Crontab.guru - The cron schedule expression editor进行设置


评论区